Nail Your First Shots: Essential Camera Settings for New Photographers
Chosen theme: Essential Camera Settings for New Photographers. Welcome to your friendly launchpad for confident shooting—clear explanations, memorable stories, and practical steps that turn confusing dials into creative choices. Subscribe, ask questions, and share your “aha” moments as you learn.
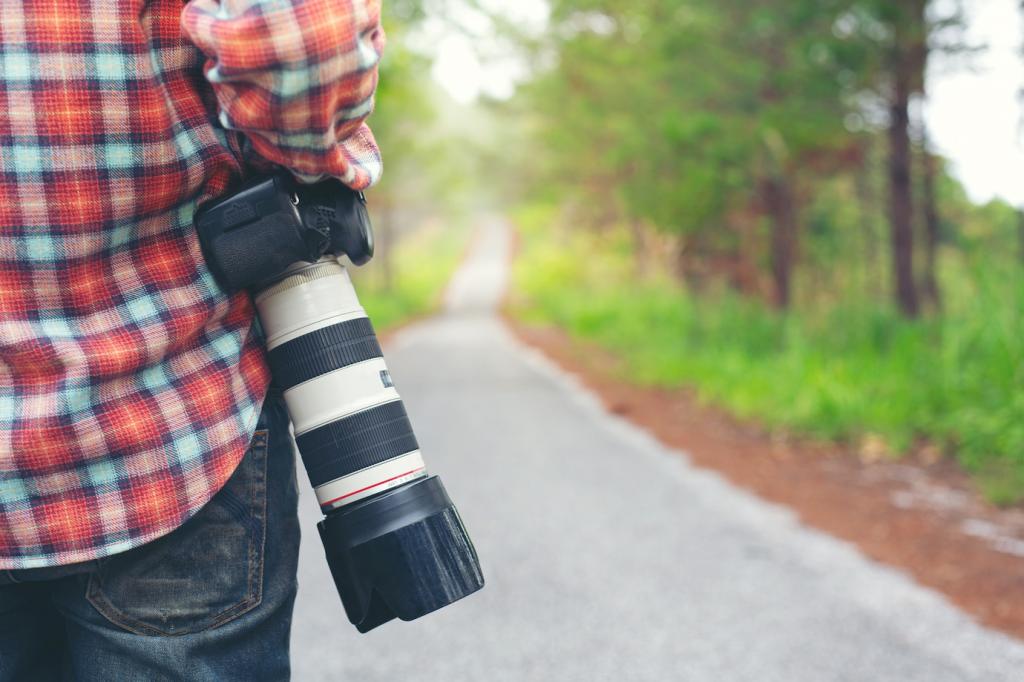
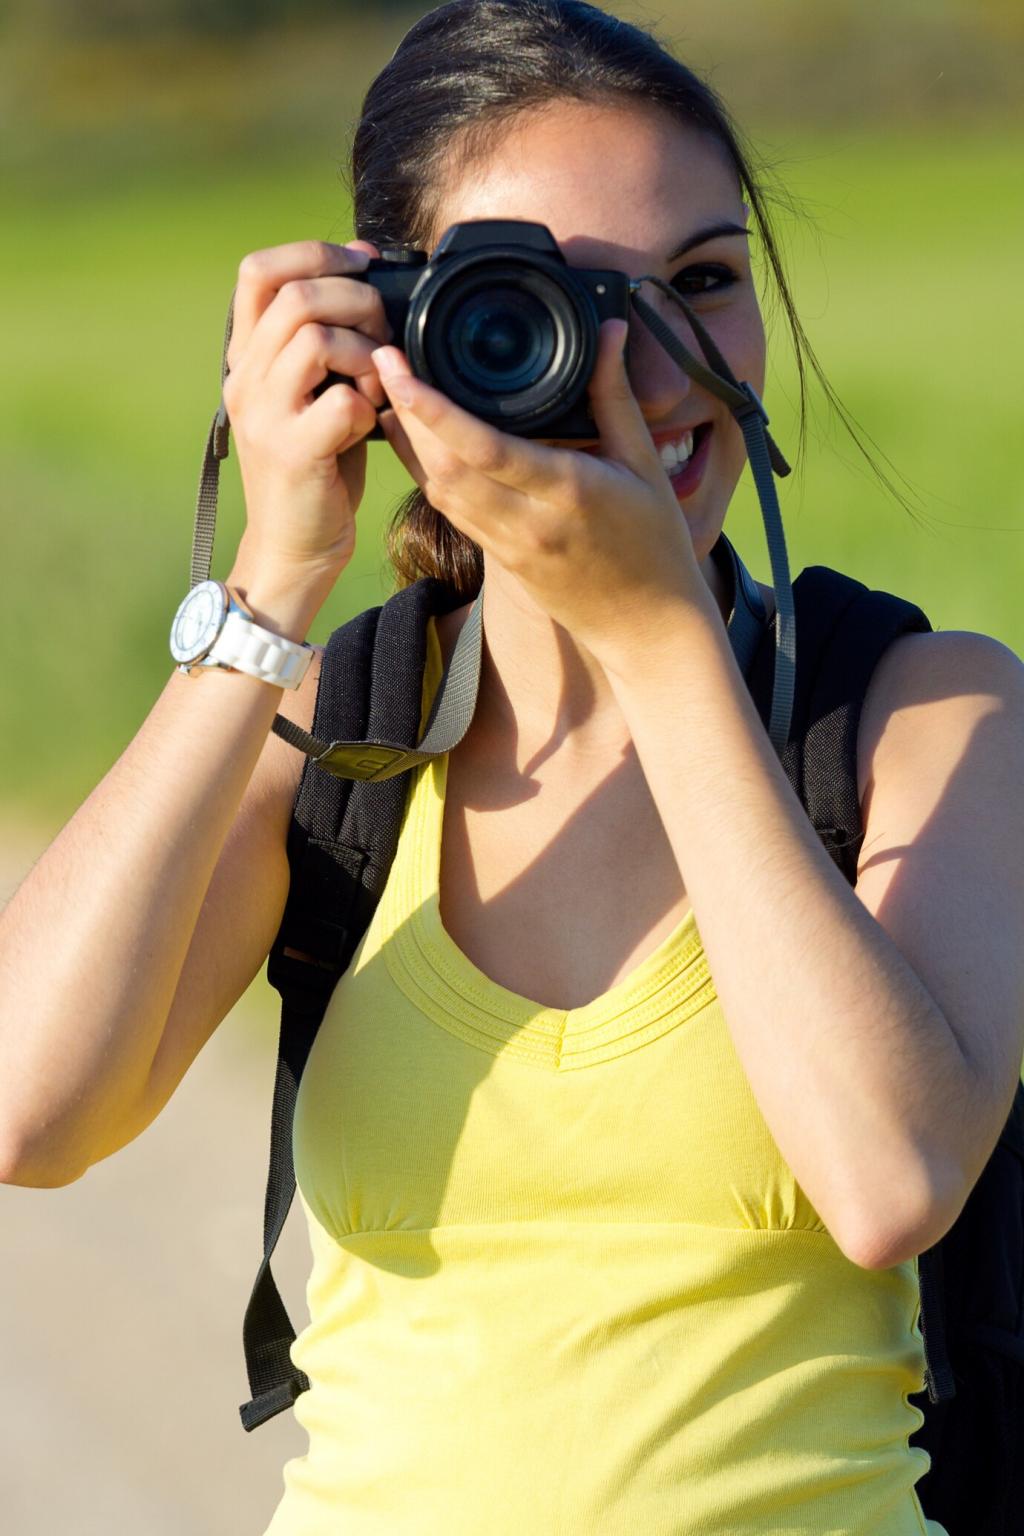
Remember your first portrait where the background finally melted into creamy blur? That’s aperture at work. Practice wide apertures outdoors, then stop down gradually to see how depth and sharpness change.
Master the Exposure Triangle with Confidence
A fast shutter freezes a splash; a slow shutter paints light into silky trails. Try photographing traffic at dusk, adjusting speed until you capture either crisp moments or dreamy motion.
Smart Shooting Modes for Real-World Results
Aperture Priority: Control the Look of Backgrounds
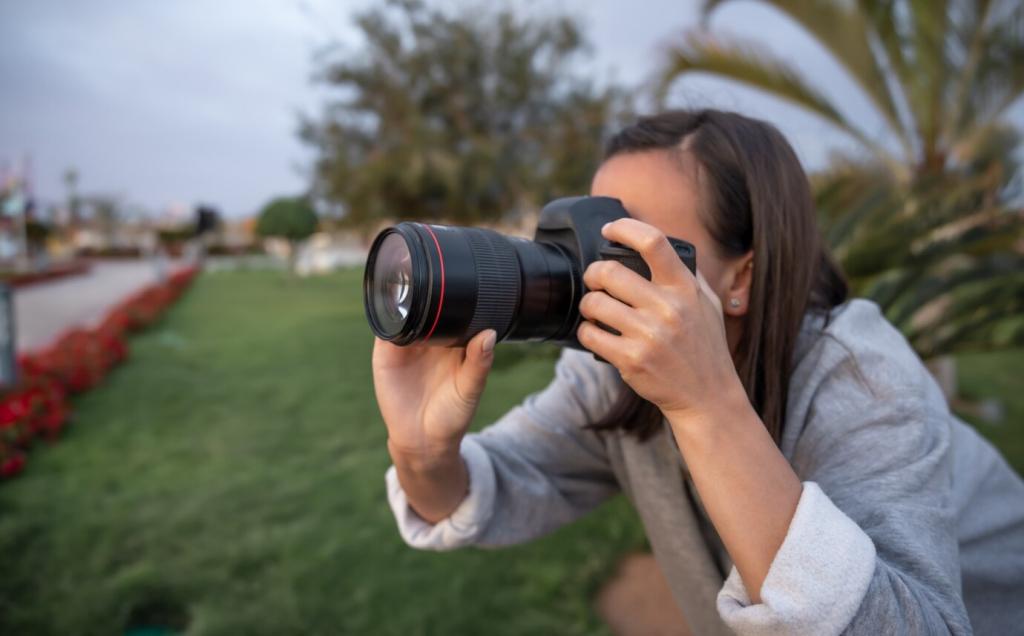
Set your aperture, let the camera choose shutter speed. Ideal for portraits and landscapes. Practice at golden hour, adjusting aperture to steer background blur while keeping an eye on exposure.
Shutter Priority: Freeze or Embrace Motion
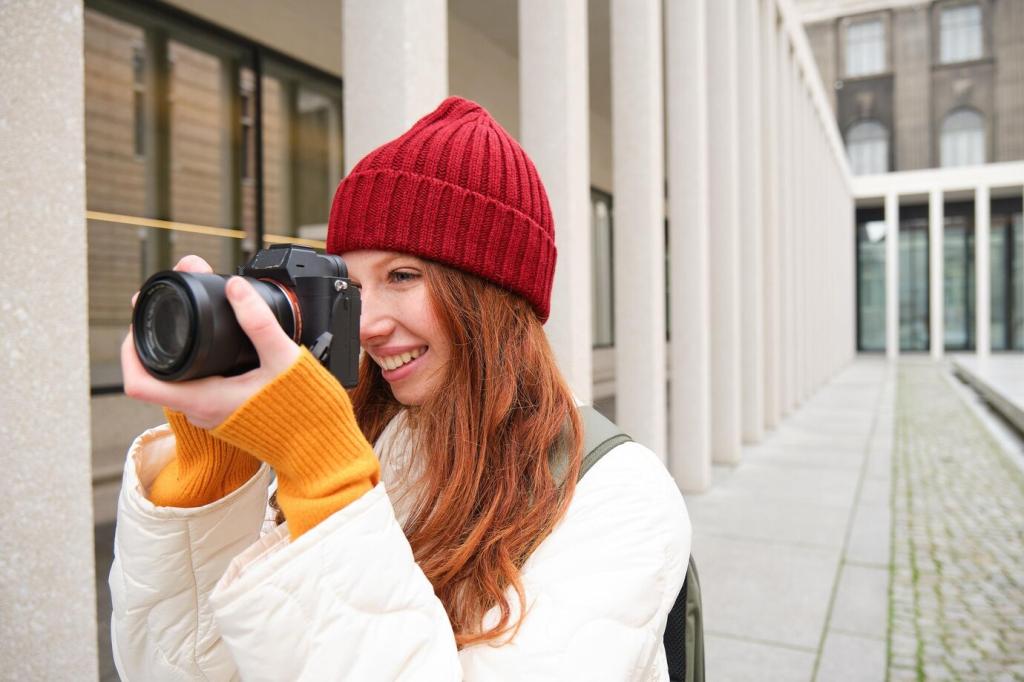
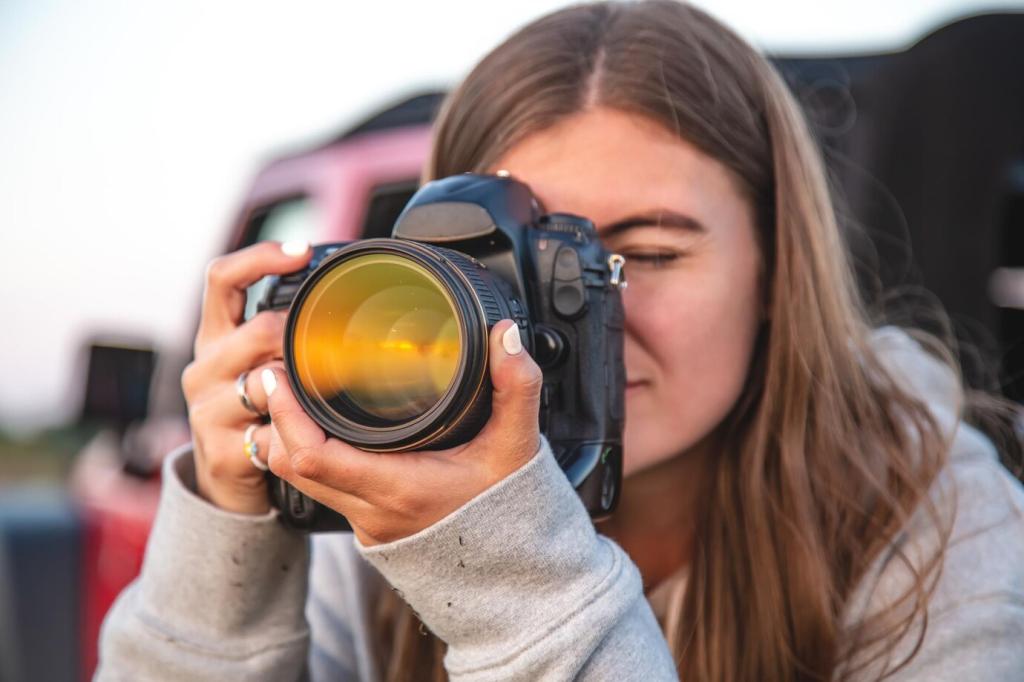
Select a shutter speed that tells your story: crisp action or flowing movement. Photograph runners, fountains, or pets, then review how different speeds shape energy and emotion.
Manual Mode: When You Want Total Control
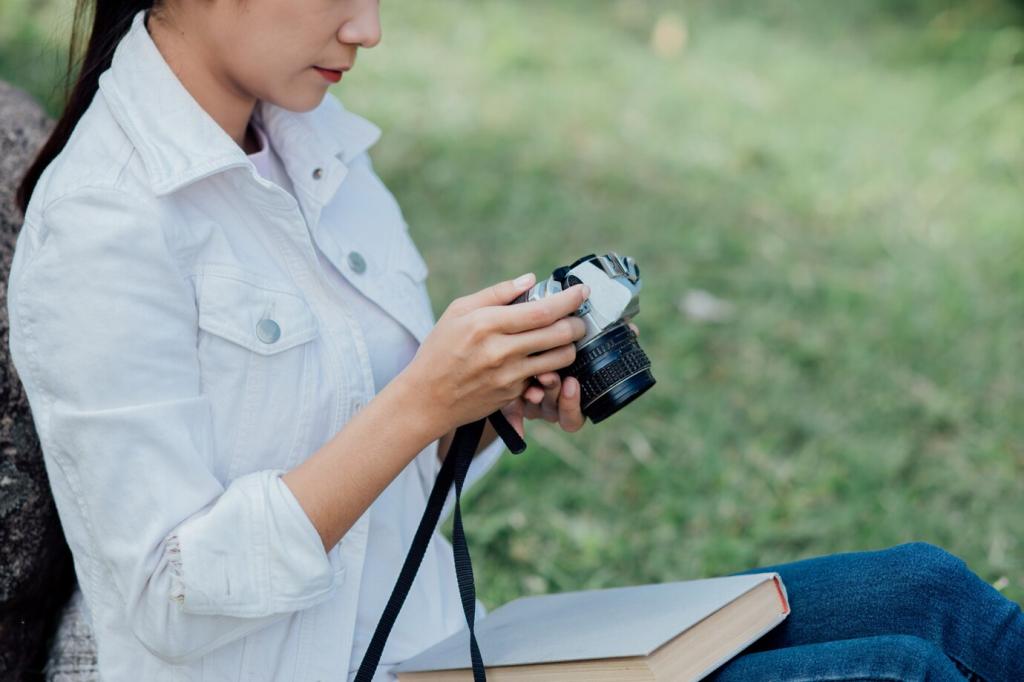
Manual feels scary until it clicks. Start by matching the meter, then fine-tune exposure using the histogram. Soon, settings will follow your vision, not the other way around.
Focus and Metering That Don’t Miss
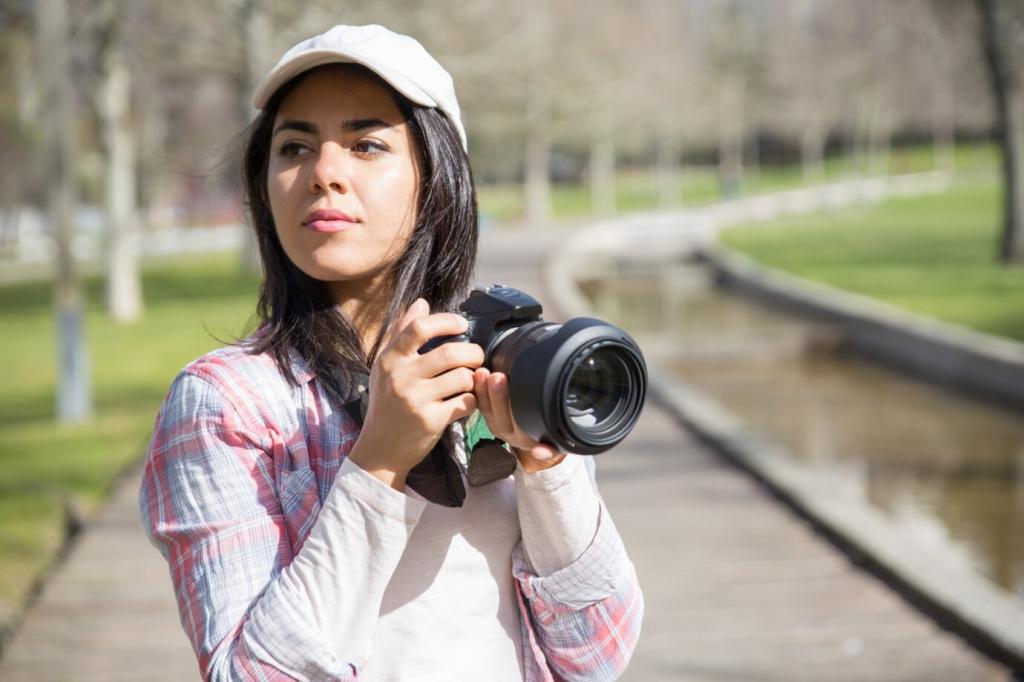
Use single AF for still subjects and continuous AF for movement. Practice tracking a friend walking toward you, noticing how the camera holds focus as distance changes.
Auto WB is surprisingly smart, but tungsten or shade presets can save time. Experiment with Kelvin to warm sunsets slightly and cool fluorescent scenes for neutral whites.
At a birthday party, warm lamps fought cool window light. We closed curtains near the cake and used a single lamp, instantly simplifying color and improving skin tones.
A quick gray card shot lets you correct color in post with one click. Use it before portraits, then batch-adjust to keep every image cohesive and natural.
Image Quality: RAW, JPEG, and the Mighty Histogram
RAW preserves more data for editing, especially in highlights and shadows. If you prefer speed, shoot JPEG plus RAW until you’re confident in exposure and color decisions.
Steady Shots: Stabilization, Drive Modes, and Timers
Image Stabilization: How and When It Helps
Enable stabilization for handheld shots at slower speeds. Turn it off on a tripod to avoid micro-movements. Compare results at 1/30s and notice the difference in sharpness.
Single vs Burst: Pick Your Pace
Single shot encourages careful timing; burst captures fleeting expressions. For kids and pets, try short bursts, then select the frame where eyes, gesture, and light align.
Self-Timer and Remote for Pinpoint Sharpness
Use a two-second timer or a remote to eliminate shake during landscapes and night shots. It’s a tiny habit that turns borderline images into reliably crisp keepers.